Introduction
Neon read replicas are independent read-only compute instances that can significantly enhance database performance and scalability. By distributing read operations across these replicas, you can reduce latency and improve overall system responsiveness, especially for read-heavy applications.
A key advantage of Neon's architecture is that adding a read replica doesn't require additional storage, making it a highly efficient scaling solution. This cost-effective approach is ideal for businesses of all sizes that need to improve database performance without increasing storage costs.
This guide demonstrates how to leverage Neon read replicas to efficiently scale Laravel applications. You'll learn how to configure your Laravel database connections to work with read replicas, enabling you to optimize your database operations and improve overall application performance. We'll use a simple URL shortener application as an example.
Prerequisites
- A Neon account and a Project. If you don't have one, you can sign up for a Neon account and create a project by following the Getting Started guide.
- Basic knowledge of Laravel and PHP
- Composer installed on your local machine
- PHP installed on your local machine
Build the URL Shortener app
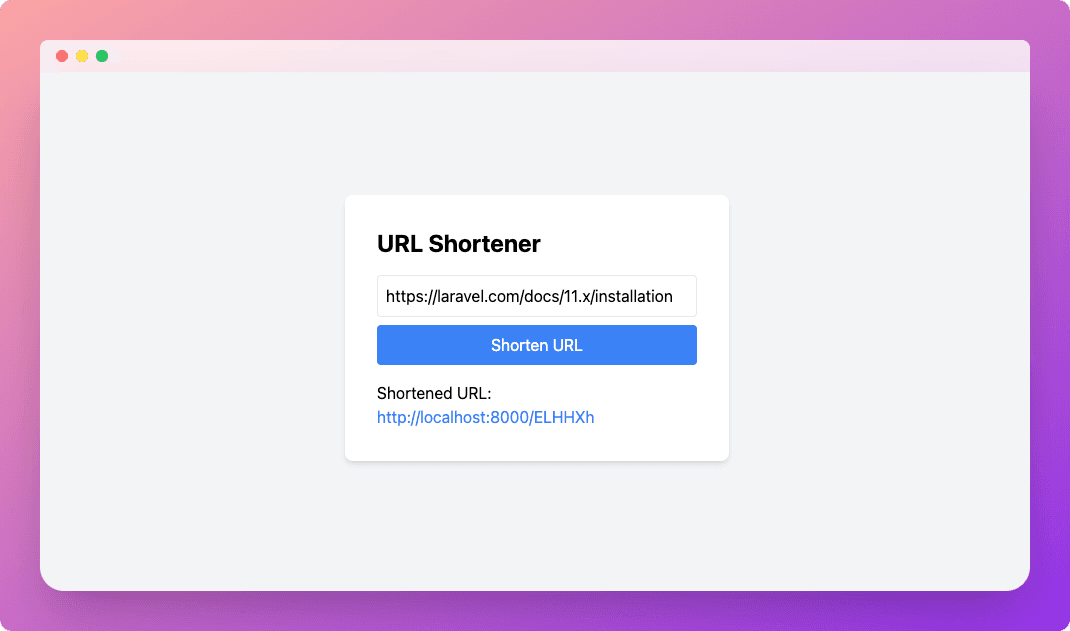
To demonstrate how to use Neon read replicas with Laravel, we'll build a simple URL shortener application that uses a Neon database. We'll then update the application to use a read replica for read operations, improving the application's performance and scalability.
Part 1: Build the initial URL Shortener app with a single database
Set up the project
Create a new Laravel project:
laravel new url-shortener

 ┌ Would you like to install a starter kit? ────────────────────┐
 │ No starter kit                                               │
 └──────────────────────────────────────────────────────────────┘

 ┌ Which testing framework do you prefer? ──────────────────────┐
 │ Pest                                                         │
 └──────────────────────────────────────────────────────────────┘

 ┌ Would you like to initialize a Git repository? ────────┐
 │ Yes                                                    │
 └────────────────────────────────────────────────────────┘

 ┌ Which database will your application use? ────────────┐
 │ PostgreSQL                                            │
 └───────────────────────────────────────────────────────┘

 ┌ Default database updated. Would you like to run the default database migrations? ┐
 │ No                                                                               │
 └─────────────────────────────────────────────────────────────────────────────────┘
 cd url-shortener
Configure the database connection
Update your .env file with your Neon database credentials:
DB_CONNECTION=pgsql
DB_HOST=your-neon-host
DB_PORT=5432
DB_DATABASE=your-database-name
DB_USERNAME=your-username
DB_PASSWORD=your-password
Create the database schema
Create a new migration for the urls table:
php artisan make:migration create_urls_tableEdit the migration file in database/migrations:
<?php

use Illuminate\Database\Migrations\Migration;
use Illuminate\Database\Schema\Blueprint;
use Illuminate\Support\Facades\Schema;

class CreateUrlsTable extends Migration
{
    public function up()
    {
        Schema::create('urls', function (Blueprint $table) {
            $table->id();
            $table->string('original_url');
            $table->string('short_code')->unique();
            $table->timestamps();
        });
    }

    public function down()
    {
        Schema::dropIfExists('urls');
    }
}
Run the migration:
php artisan migrateimportant
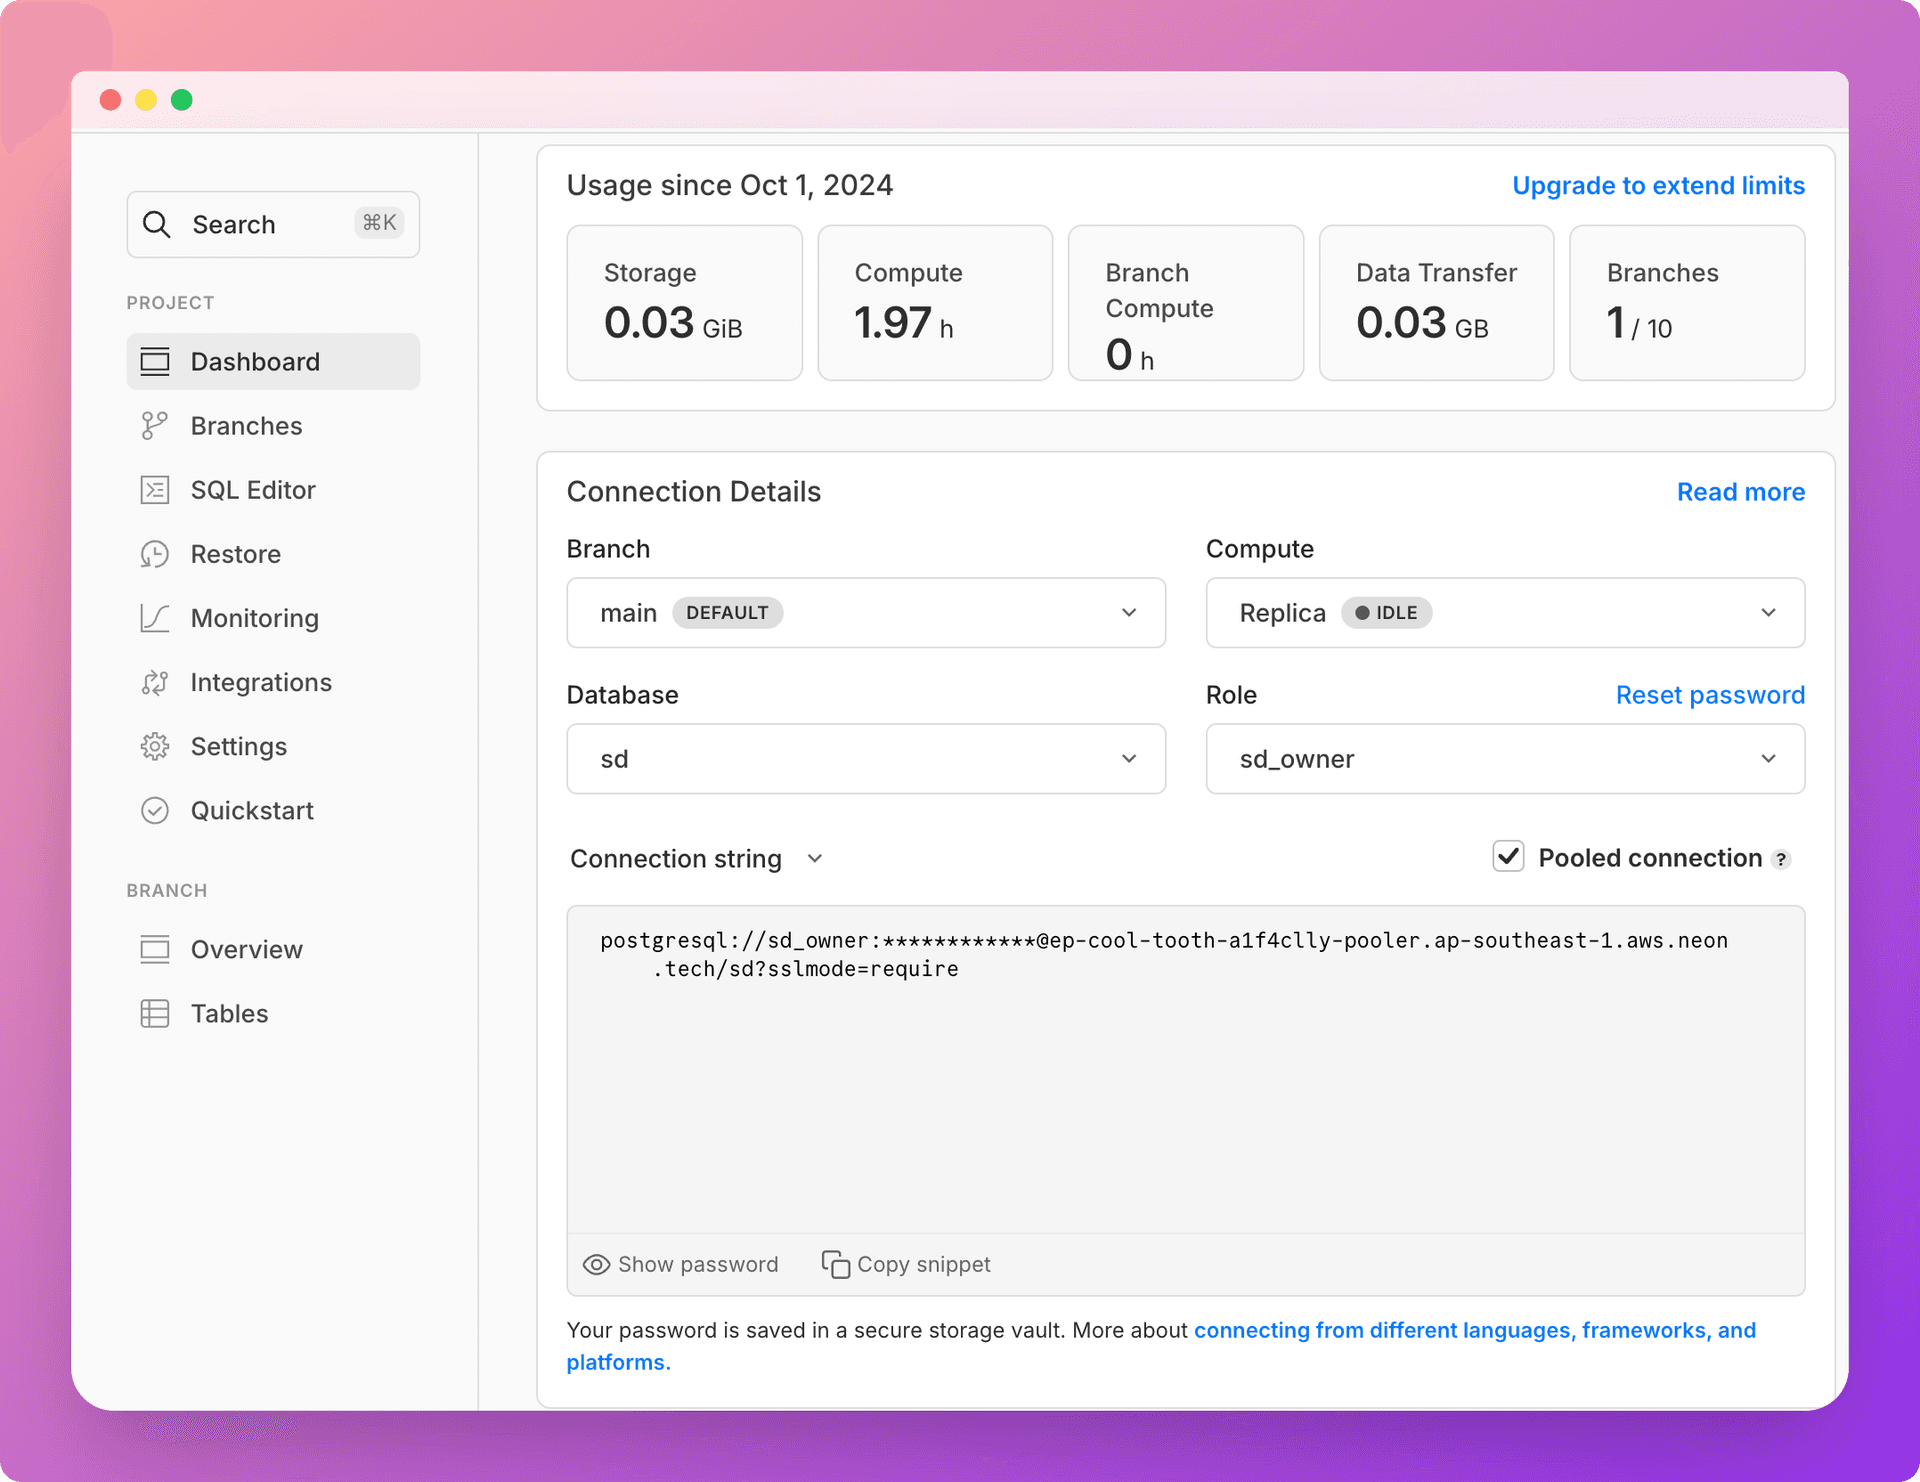
Neon supports both direct and pooled database connection strings, which can be copied from the Connection Details widget on your Neon Project Dashboard. A pooled connection string connects your application to the database via a PgBouncer connection pool, allowing for a higher number of concurrent connections. However, using a pooled connection string for migrations can be prone to errors. For this reason, we recommend using a direct (non-pooled) connection when performing migrations. For more information about direct and pooled connections, see Connection pooling.
Create the model
Create a new model for the URL:
php artisan make:model UrlEdit app/Models/Url.php:
<?php

namespace App\Models;

use Illuminate\Database\Eloquent\Factories\HasFactory;
use Illuminate\Database\Eloquent\Model;

class Url extends Model
{
    use HasFactory;

    protected $fillable = ['original_url', 'short_code'];
}
Create the controller
Create a new controller for handling URL operations:
php artisan make:controller UrlControllerEdit app/Http/Controllers/UrlController.php:
<?php

namespace App\Http\Controllers;

use App\Models\Url;
use Illuminate\Http\Request;
use Illuminate\Support\Str;

class UrlController extends Controller
{
    public function shorten(Request $request)
    {
        $request->validate([ 'url' => 'required|url' ]);

        $url = Url::create([
            'original_url' => $request->url,
            'short_code' => Str::random(6),
        ]);

        return response()->json([ 'short_url' => url($url->short_code) ], 201);
    }

    public function redirect($shortCode)
    {
        $url = Url::where('short_code', $shortCode)->firstOrFail();
        return redirect($url->original_url);
    }
}
Set up the routes
Edit routes/web.php:
<?php

use App\Http\Controllers\UrlController;
use Illuminate\Support\Facades\Route;

Route::get('/', function () { return view('home'); });
Route::post('/shorten', [UrlController::class, 'shorten']);
Route::get('/{shortCode}', [UrlController::class, 'redirect']);
Create a simple frontend
Create a new blade template resources/views/home.blade.php:
<!doctype html>
<html lang="en">
  <head>
    <meta charset="UTF-8" />
    <meta name="viewport" content="width=device-width, initial-scale=1.0" />
    <title>URL Shortener</title>
    <script src="https://cdn.tailwindcss.com"></script>
  </head>
  <body class="bg-gray-100 flex min-h-screen items-center justify-center">
    <div class="w-96 rounded-lg bg-white p-8 shadow-md">
      <h1 class="mb-4 text-2xl font-bold">URL Shortener</h1>
      <form id="urlForm" class="mb-4">
        <input
          type="url"
          id="urlInput"
          placeholder="Enter URL to shorten"
          required
          class="mb-2 w-full rounded border p-2"
        />
        <button type="submit" class="bg-blue-500 hover:bg-blue-600 w-full rounded p-2 text-white">
          Shorten URL
        </button>
      </form>
      <div id="result" class="hidden">
        <p>
          Shortened URL:
          <a id="shortUrl" href="#" target="_blank" class="text-blue-500"></a>
        </p>
      </div>
    </div>

    <script>
      document.getElementById('urlForm').addEventListener('submit', async (e) => {
        e.preventDefault();
        const url = document.getElementById('urlInput').value;
        const response = await fetch('/shorten', {
          method: 'POST',
          headers: {
            'Content-Type': 'application/json',
            'X-CSRF-TOKEN': '{{ csrf_token() }}',
          },
          body: JSON.stringify({ url }),
        });
        const data = await response.json();
        document.getElementById('shortUrl').href = data.short_url;
        document.getElementById('shortUrl').textContent = data.short_url;
        document.getElementById('result').classList.remove('hidden');
      });
    </script>
  </body>
</html>
Run the application
Start the Laravel development server:
php artisan serveVisit http://localhost:8000 to test the URL shortener app.
Part 2: Use a read replica for read-only operations
Create a read replica on Neon
To create a read replica:
- In the Neon Console, select Branches.
- Select the branch where your database resides.
- Click Add Read Replica.
- On the Add new compute dialog, select Read replica as the Compute type.
- Specify the Compute size settings options. You can configure a Fixed Size compute with a specific amount of vCPU and RAM (the default) or enable autoscaling by configuring a minimum and maximum compute size. You can also configure the Suspend compute after inactivity setting, which is the amount of idle time after which your read replica compute is automatically suspended. The default setting is 5 minutes.
note
The compute size configuration determines the processing power of your database. More vCPU and memory means more processing power but also higher compute costs. For information about compute costs, see Billing metrics.
- When you finish making selections, click Create.
Your read replica compute is provisioned and appears on the Computes tab of the Branches page.
Navigate to the Dashboard page, select the branch where the read replica compute was provisioned, and set the compute option to Replica to obtain the read replica connection string:
Update the database configuration
Edit config/database.php to add the read replica configuration:
'pgsql' => [
    'driver' => 'pgsql',
    'read' => [
        'host' => env('DB_READ_HOST'),
    ],
    'write' => [
        'host' => env('DB_WRITE_HOST'),
    ],
    'sticky'    => true,
    'port' => env('DB_PORT', '5432'),
    'database' => env('DB_DATABASE', 'laravel'),
    'username' => env('DB_USERNAME', 'root'),
    'password' => env('DB_PASSWORD', ''),
    'charset' => env('DB_CHARSET', 'utf8'),
    'prefix' => '',
    'prefix_indexes' => true,
    'search_path' => 'public',
    'sslmode' => 'prefer',
]
info
Now that you've completed the database migrations, you can leverage the pooled connection string for both read and write operations. This streamlines your database interactions. However, it's worth noting that for future migrations, it's best practice to use the direct connection string. This approach helps avoid potential complications that might arise during the migration process.
Update your .env file with the read replica host:
DB_READ_HOST=your-neon-read-replica-host
DB_WRITE_HOST=your-neon-primary-host
Automatic Query Routing with Eloquent
One of the great features of Laravel's Eloquent ORM is that it automatically routes queries to the appropriate database connection based on the type of query. This means that after configuring your read replica, you don't need to make any changes to your existing controller or model code. Here's how Eloquent handles different types of queries:
- Read Operations:
SELECTqueries are automatically routed to the read replica. - Write Operations:
INSERT,UPDATE, andDELETEqueries are sent to the primary (write) database.
This automatic routing happens transparently, allowing you to scale your application without modifying your application logic.
tip
Laravel offers powerful flexibility in managing database connections. While automatic query routing is convenient, you can easily override it when needed. For instance, to explicitly use the write connection for querying the urls table, you can do the following:
<?php
use Illuminate\Support\Facades\DB;
...

$url = DB::connection('pgsql::write')->table('urls')->where('short_code', $shortCode)->first();
You can find the source code for the application described in this guide on GitHub.
Conclusion
By leveraging Neon's read replicas with Laravel, you can significantly improve your application's performance and scalability. Laravel's database configuration makes it easy to set up and use read replicas without having to manually manage multiple database connections in your application code.
This setup allows you to distribute your read load across one or more read replicas while ensuring that all write operations are performed on the primary database. Monitor your application's performance and adjust the number of read replicas as needed to handle your specific load requirements.
By implementing read replicas in your Laravel application, you're taking a significant step toward building a more scalable and performant system that can handle increased traffic and data loads.
Need help?
Join our Discord Server to ask questions or see what others are doing with Neon. Users on paid plans can open a support ticket from the console. For more details, see Getting Support.